

Best Seller

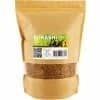
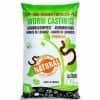
Compost worms Eisenia | 250 g of worms (approx. 500 pcs)
Packaging from 250 g to 10 kg of worms
15,40 €
-25%
Fast and odourless, compost worms eat your waste and turn it into worm casting for your plants.
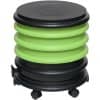
From 2 to 4 trays with optional planter.
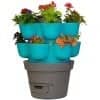
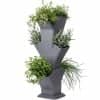
Up to 18 growing zones with central wormery.
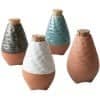
Terracotta with flower pot.
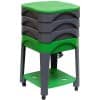
From 2 to 4 shelves with a low shelf.
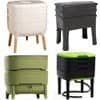
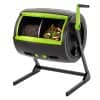
Urbalive, Worm Cafe, WORMcube, Tiny Worm, WORMwood, ...
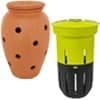
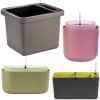
Turn your planters into a Wormery: WORMacotta, In-Ground.
From the kitchen to the garden, your compost becomes simple, quick, and effective for everyone.
Live animals (worms and bait) and products to feed and look after pets and farm animals.

Compost worms Eisenia for your wormery or worm compost bin.
Ultra-fresh worms: Compost, Dendros and Canadian from 100 g up to 1 kg.

Natural solutions dedicated to the well-being of horses, ponies, and donkeys.

Optimise the health and performance of your farm.

Mealworms, natural and nutritious supplements.
Enhance your home with our decorative items and care for your house in a natural and sustainable way.
Tend your garden in an eco-friendly and nature-conscious way, for healthy and lasting plantings.
EM-based products created to enrich soils, protect plants, support animal health, and make everyday well-being and maintenance easier.

Contains a blend of 80 families of beneficial microorganisms.

Revitalise, purify and improve water quality in all your applications.

Stimulate soil microbial activity and plant growth.

Cleanse and maintain your environment naturally.

For the well-being and health of pets, livestock, and horses.

Enrich your body or dietary routines with essential enzymes.
There are plenty of wormery models available to buy, but it's entirely possible to make one yourself, at low cost, with a few plastic bins and a little DIY. Here's how to go about it, step by step.
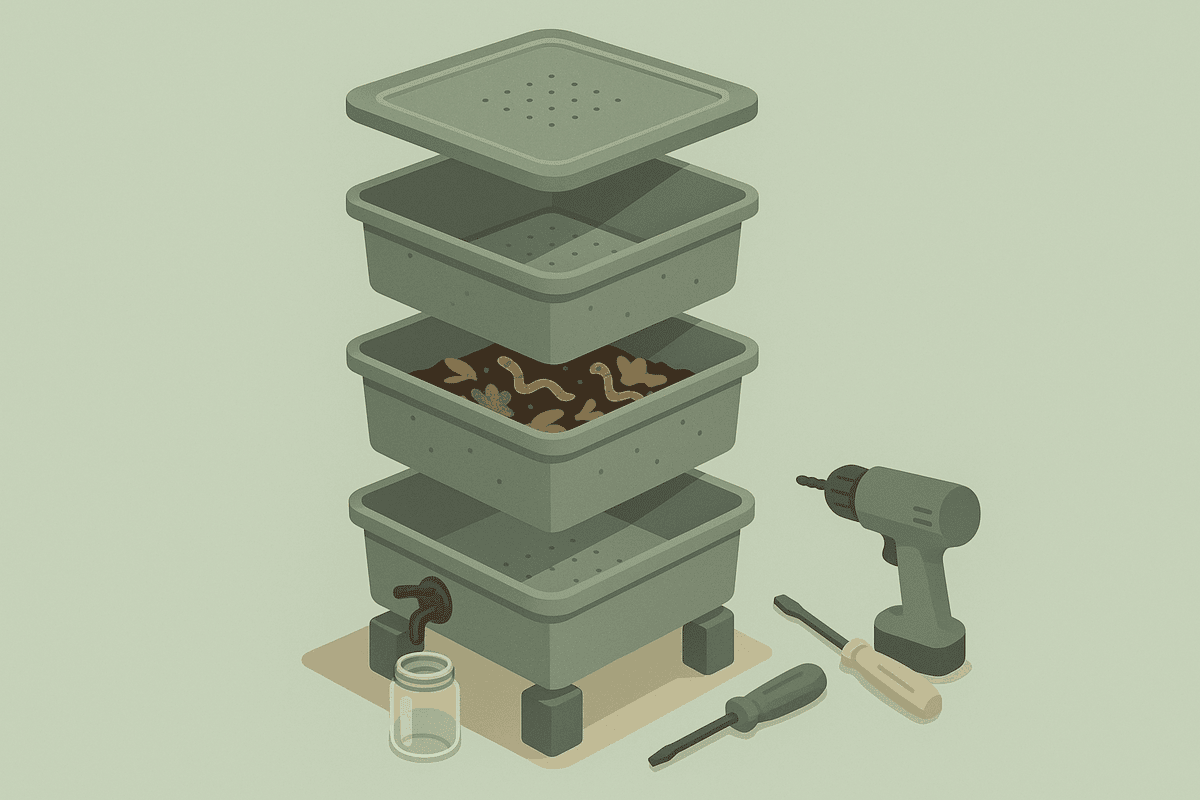
The basis of the project is a set of stackable or nesting bins — plastic, wood or polystyrene — which are easy to find in DIY stores. You'll need at least four: two bins to act as composting trays, one bin to collect the compost tea, and a final one to raise the whole unit off the ground. You'll also need a lid to close the top.
As for size, bins measuring around 28 x 22 cm and 16 cm deep are suitable for a household of 2 to 3 people — the same guideline as for a shop-bought model, as we explain in our guide The tray wormery For a larger volume of waste, increase the number of bins or opt for a larger surface area, keeping to a maximum depth of 20 cm per bin. Also make sure the gap between the stacked bins stays small, to limit the entry of fruit flies.





Step 1 — Drill the passage holes. Draw lines 1.5 to 2 cm apart on the underside of the two composting bins. The points where they cross will guide you in drilling 5 mm diameter holes: these are what will allow the worms to move from one bin to the next, just as in a shop-bought tray model.
Step 2 — Drill the ventilation holes. Drill small holes of around 1 mm along the sides of the composting bins and in the lid. They let air circulate inside the wormery while remaining small enough to stop fruit flies getting in.
Step 3 — Block the open handles. If the bins you've chosen have open handles, you'll need to seal them — with a non-biodegradable fabric and wire, a piece of aluminium angle, or any other material suited to your type of bin. Just make sure the bins can still nest properly inside one another.
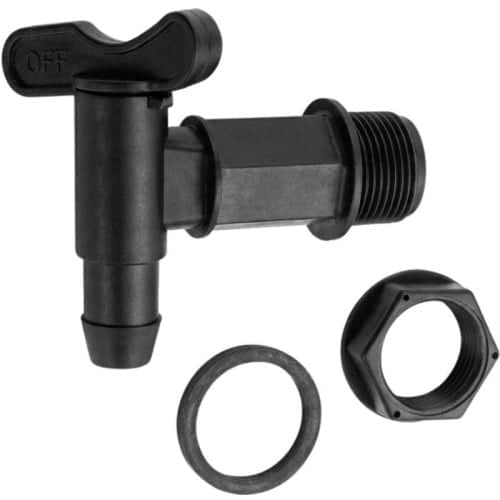 Step 4 — Fit the collection tap. Drill a hole in the bin intended for collecting the compost tea and fit a tap — easy to find in garden centres or DIY stores, or for sale here ;) — to control the flow of liquid into a container placed underneath. Remember to add a rubber seal to prevent any leaks.
Step 5 — Prepare the raising bin. Cut out the bin used to raise the unit so that the container collecting the compost tea can slide in easily. Don't cut the plastic all the way down: this means any leak will be contained inside the bin rather than running onto the floor.
Key pointsOnce these five steps are complete, your homemade wormery is ready to use: all that's left is to add the bedding and your first worms.
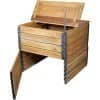
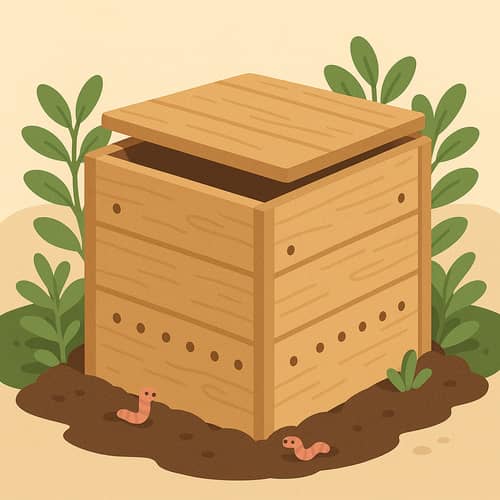 Wood is a very worthwhile alternative to plastic for making your wormery. It breathes better and naturally absorbs some of the moisture, which makes managing humidity easier day to day. On the other hand, it deteriorates faster than a plastic bin — allow two to three years of continuous use for an untreated wooden box, longer if you let it dry out for a few days between bedding changes, or if you apply a non-toxic waterproof finish (polyurethane varnish, for example) to the edges. Do, however, avoid any pressure-treated wood: the preservatives it contains (based on copper, chromium or arsenic) are toxic to worms and to the environment alike.
A simple box made from planks or exterior plywood is all you need: drill two rows of holes of around 25 mm in the sides, one near the bottom (5 to 8 cm above the base) and another towards the top to let warm air escape. You can staple fine mesh over these holes to stop waste escaping through them. For a box for two people, a base of around 60 x 60 cm and 20 cm high is enough; for a larger household, a roomier box of around 30 x 60 x 90 cm will be more suitable. Allow between €30 and €45 for materials, screws included.
A homemade wormery works exactly like a shop-bought model: the same principle of worms moving between the bins, the same collection of compost tea through the tap. Head to our guides Which type of worms should you use in your wormery? and How to start your wormery for what comes next.
Making your own wormery reduces the upfront cost and lets you reuse bins you already have at home. On the other hand, it takes a little time and DIY, and particular care over watertightness and hole size — two points on which a shop-bought model is already calibrated and tested. If you'd rather have a ready-to-use solution, browse our full range of wormeries
Did you know?Making your own wormery is by no means a must: it's an economical and rewarding option for anyone who enjoys DIY, but a shop-bought model is just as effective and saves you time.